Creating a Counter Strike game server
About this content
Counter-Strike is one of the most popular multiplayer shooters in the world, and has been around for more than 20 years. One of the main reasons for its popularity is its game servers, where players can fight each other using various weapons and tactics. If you also want to create your own Counter-Strike game server, you will need some knowledge and a little time. In this article, we will tell you how to create your own Counter-Strike server.
Step 1: Installing the game The first step in creating a Counter-Strike game server is installing the game itself. If you don't have the game yet, you can purchase it from Valve's official website or other stores.
Step 2: Installing SteamCMD To create a Counter-Strike server, you will also need to install SteamCMD. SteamCMD is a command line that lets you download and install games on servers. You can download SteamCMD from Valve's official website.
Step 3: Creating the server After installing SteamCMD, you can start creating your server. To do this, open the command line and enter the following commands:
login anonymous force_install_dir c:css_server app_update 90 validate exit
These commands will download the game to your server and install it in the directory "c:css_server". After that, you can start the server by entering the following command:
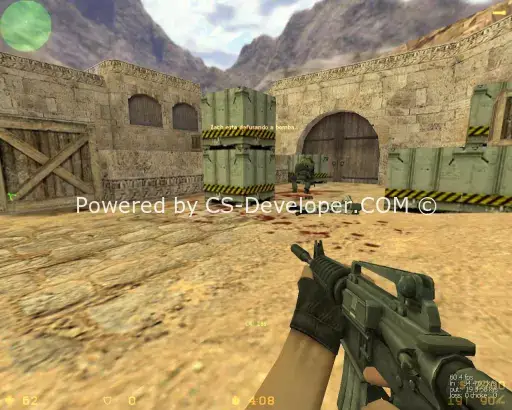
srcds.exe -console -game cstrike +map de_dust2 +maxplayers 16
This command will start the server with the de_dust2 map and a maximum of 16 players.
Step 4: Configuring the server After creating the server, you will need to configure it. To do this, you will need the server configuration file, which is called "server.cfg". You can create this file in the directory "c:css_servercstrikecfg". In this file, you can configure parameters such as the maximum number of players, round time, weapons, and much more.
Step 5: Connecting to the server After configuring the server, you can connect to it from the game. To do this, you need to open the Counter-Strike game, select the "Play" tab, and find your server in the server list.
Comments (0)